Recently, I stumbled on a recipe for mozzarella cheese. I mail-ordered some of the ingredients and planned to spend a relaxing few hours learning the art of mozzarella cheese making as I house-sat for a friend.
What I didn’t realize, until half-way through following this recipe, was that this very reputable blog writer had failed to explain some very important details. I made 2 batches that night and basically ruined both of them. At the end, it tasted delicious, but I hesitated to make it again because of the sheer frustration in the lack of detail about the recipe.
This is the third time I’ve made mozzarella, and I recorded it this time. I wrote down all of the important details that I wish the other chef had told me.
This is a fun, simple, delicious, kid-friendly project, so please don’t be intimidated.
However, you’ve got to follow the instructions pretty closely. That’s hard for anti-recipe people like me, but consider it a character-building activity.
Here’s what you’ll need:
Ingredients
- 1 Gallon Whole Unpasteurized Milk or Raw Milk – $5.25
- 1/2 Cup Unpasteurized Heavy Cream or Half & Half – $.59
- 1 1/2 Teaspoons Citric Acid (buy here) – $.12
- 1/8 Teaspoon Vegetable Rennet (buy here) – $.35
- 3 Tablespoons Salt
Equipment
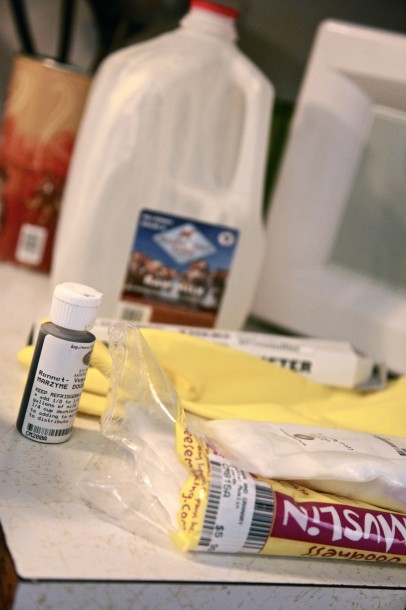
- Butter Muslin (buy here) (You may be able to triple-up on cheese cloth if you’re desperate)
- Thermometer
- Thick Kitchen Gloves
- Large Pot, Strainer, and Large Bowl
Why unpasteurized milk? Like cheesemaking.com says, pasteurized milk “has basically been stripped of friendly bacteria. More importantly, the alteration of the proteins is so severe that the milk will not form a proper curd.” Whole Foods and Earthfare are just a few places you can find it–although it may say “Flash pasteurized whole milk” which is okay if you can’t find it totally raw. Just make sure it’s not your run-of-the-mill ultra-pasteurized milk. Sorry, I know’s that’s inconvenient.
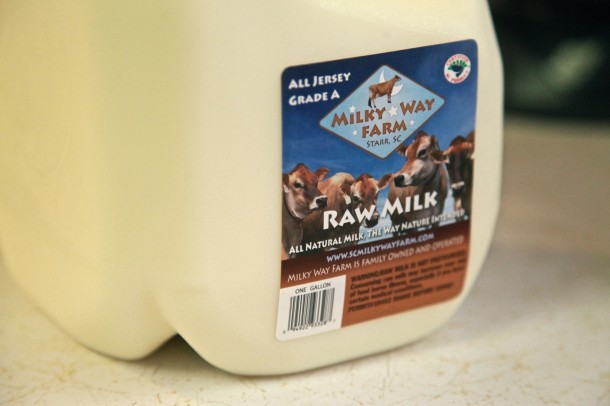
Lay out all your equipment on the counter before you start…a sort of Mise en Place (putting everything in its place).
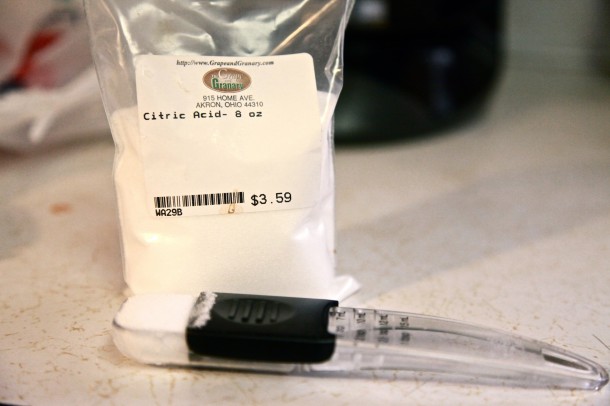
Pour the gallon of unpasteurized milk and unpasteurized cream in a big pot and keep the heat off. Measure out your citric acid.
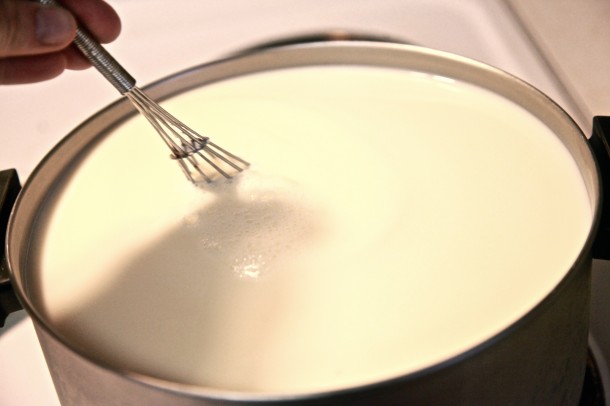
While the heat is still off (you didn’t disobey me, did you? Keep that heat off!), pour in the citric acid and stir for 60 seconds. Time it or count to yourself if you have to. This is really important–60 seconds.
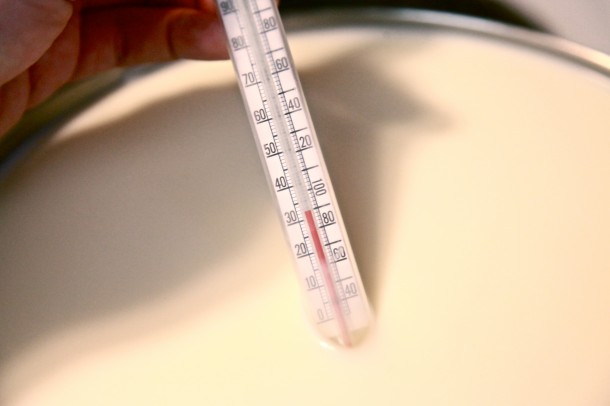
Turn the heat on medium-low. Not high or even medium high. We’re going to raise the temperature to exactly 90* and we must do it slowly. I was impatient the first two times and ruined it. Loooow and sloooow. 90* is pretty much lukewarm, so it will only take about 8-10 minutes.
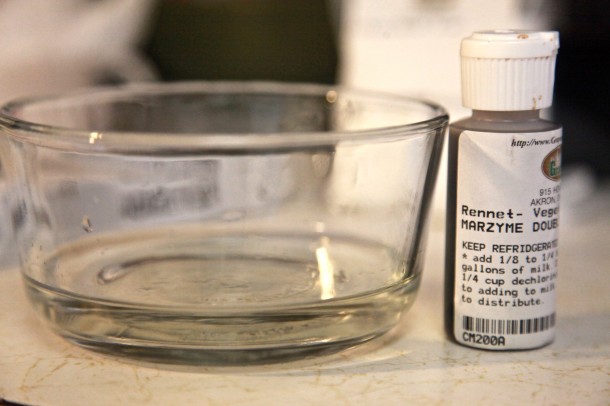
While the milk is sloooowly coming up to temp, dilute 1/8 teaspoon of the rennet into about 1/4 cup cool water.
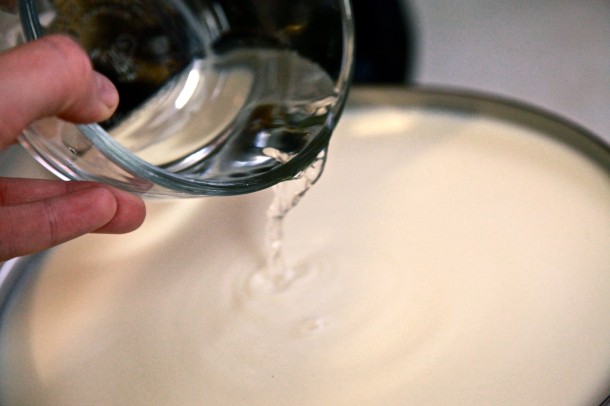
When the milk has reached 90*, take it off of the heat. Pour in the vegetable rennet and stir.
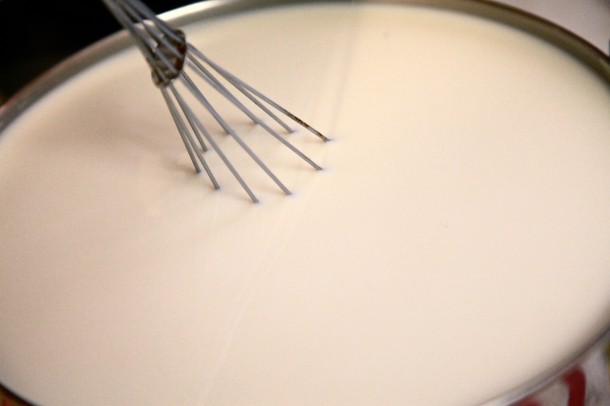
Stir for 90 seconds, go!
Now, after you’ve stirred, put a lid on the cheese and leave it alone for 20 minutes. Don’t poke it, don’t move it, just walk away. If that’s hard for you, you could Draw a Stickman for a while.
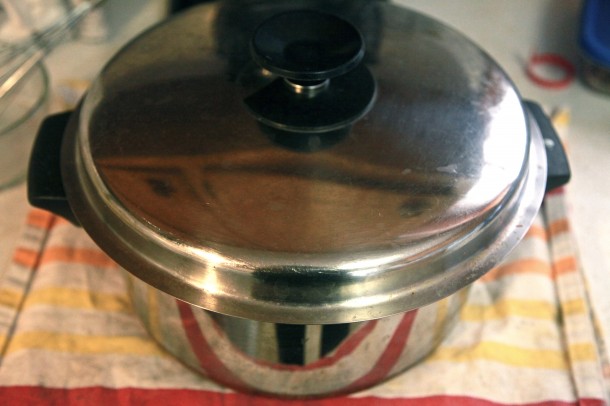
After your 20 minutes, open the lid and poke the cheese. Is it semi-solid, kinda like sour cream? If it’s still very liquidy, let it sit for another few minutes. There may have been a temperature problem.
If it’s sour-cream-y, take a knife and cut 1″ blocks.

Now we’re going to put the pot back on the stove on medium heat and heat it up to 105*. Remember, low and slow.
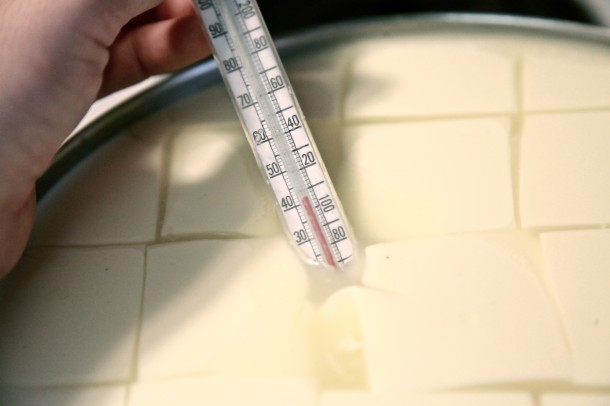
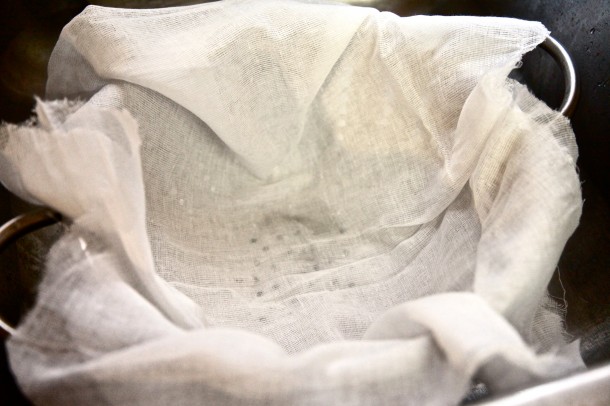
While that’s doing its thing, cut a piece of butter muslin and line a drainer with it. I doubled mine up, and I realized that was unnecessary. Just one layer is good.
This is important! Put a bowl underneath the drainer! You NEED the liquid, which is the whey, for later.
Once the temperature hits 105* exactly, pull it off the heat and place it next to your sink.
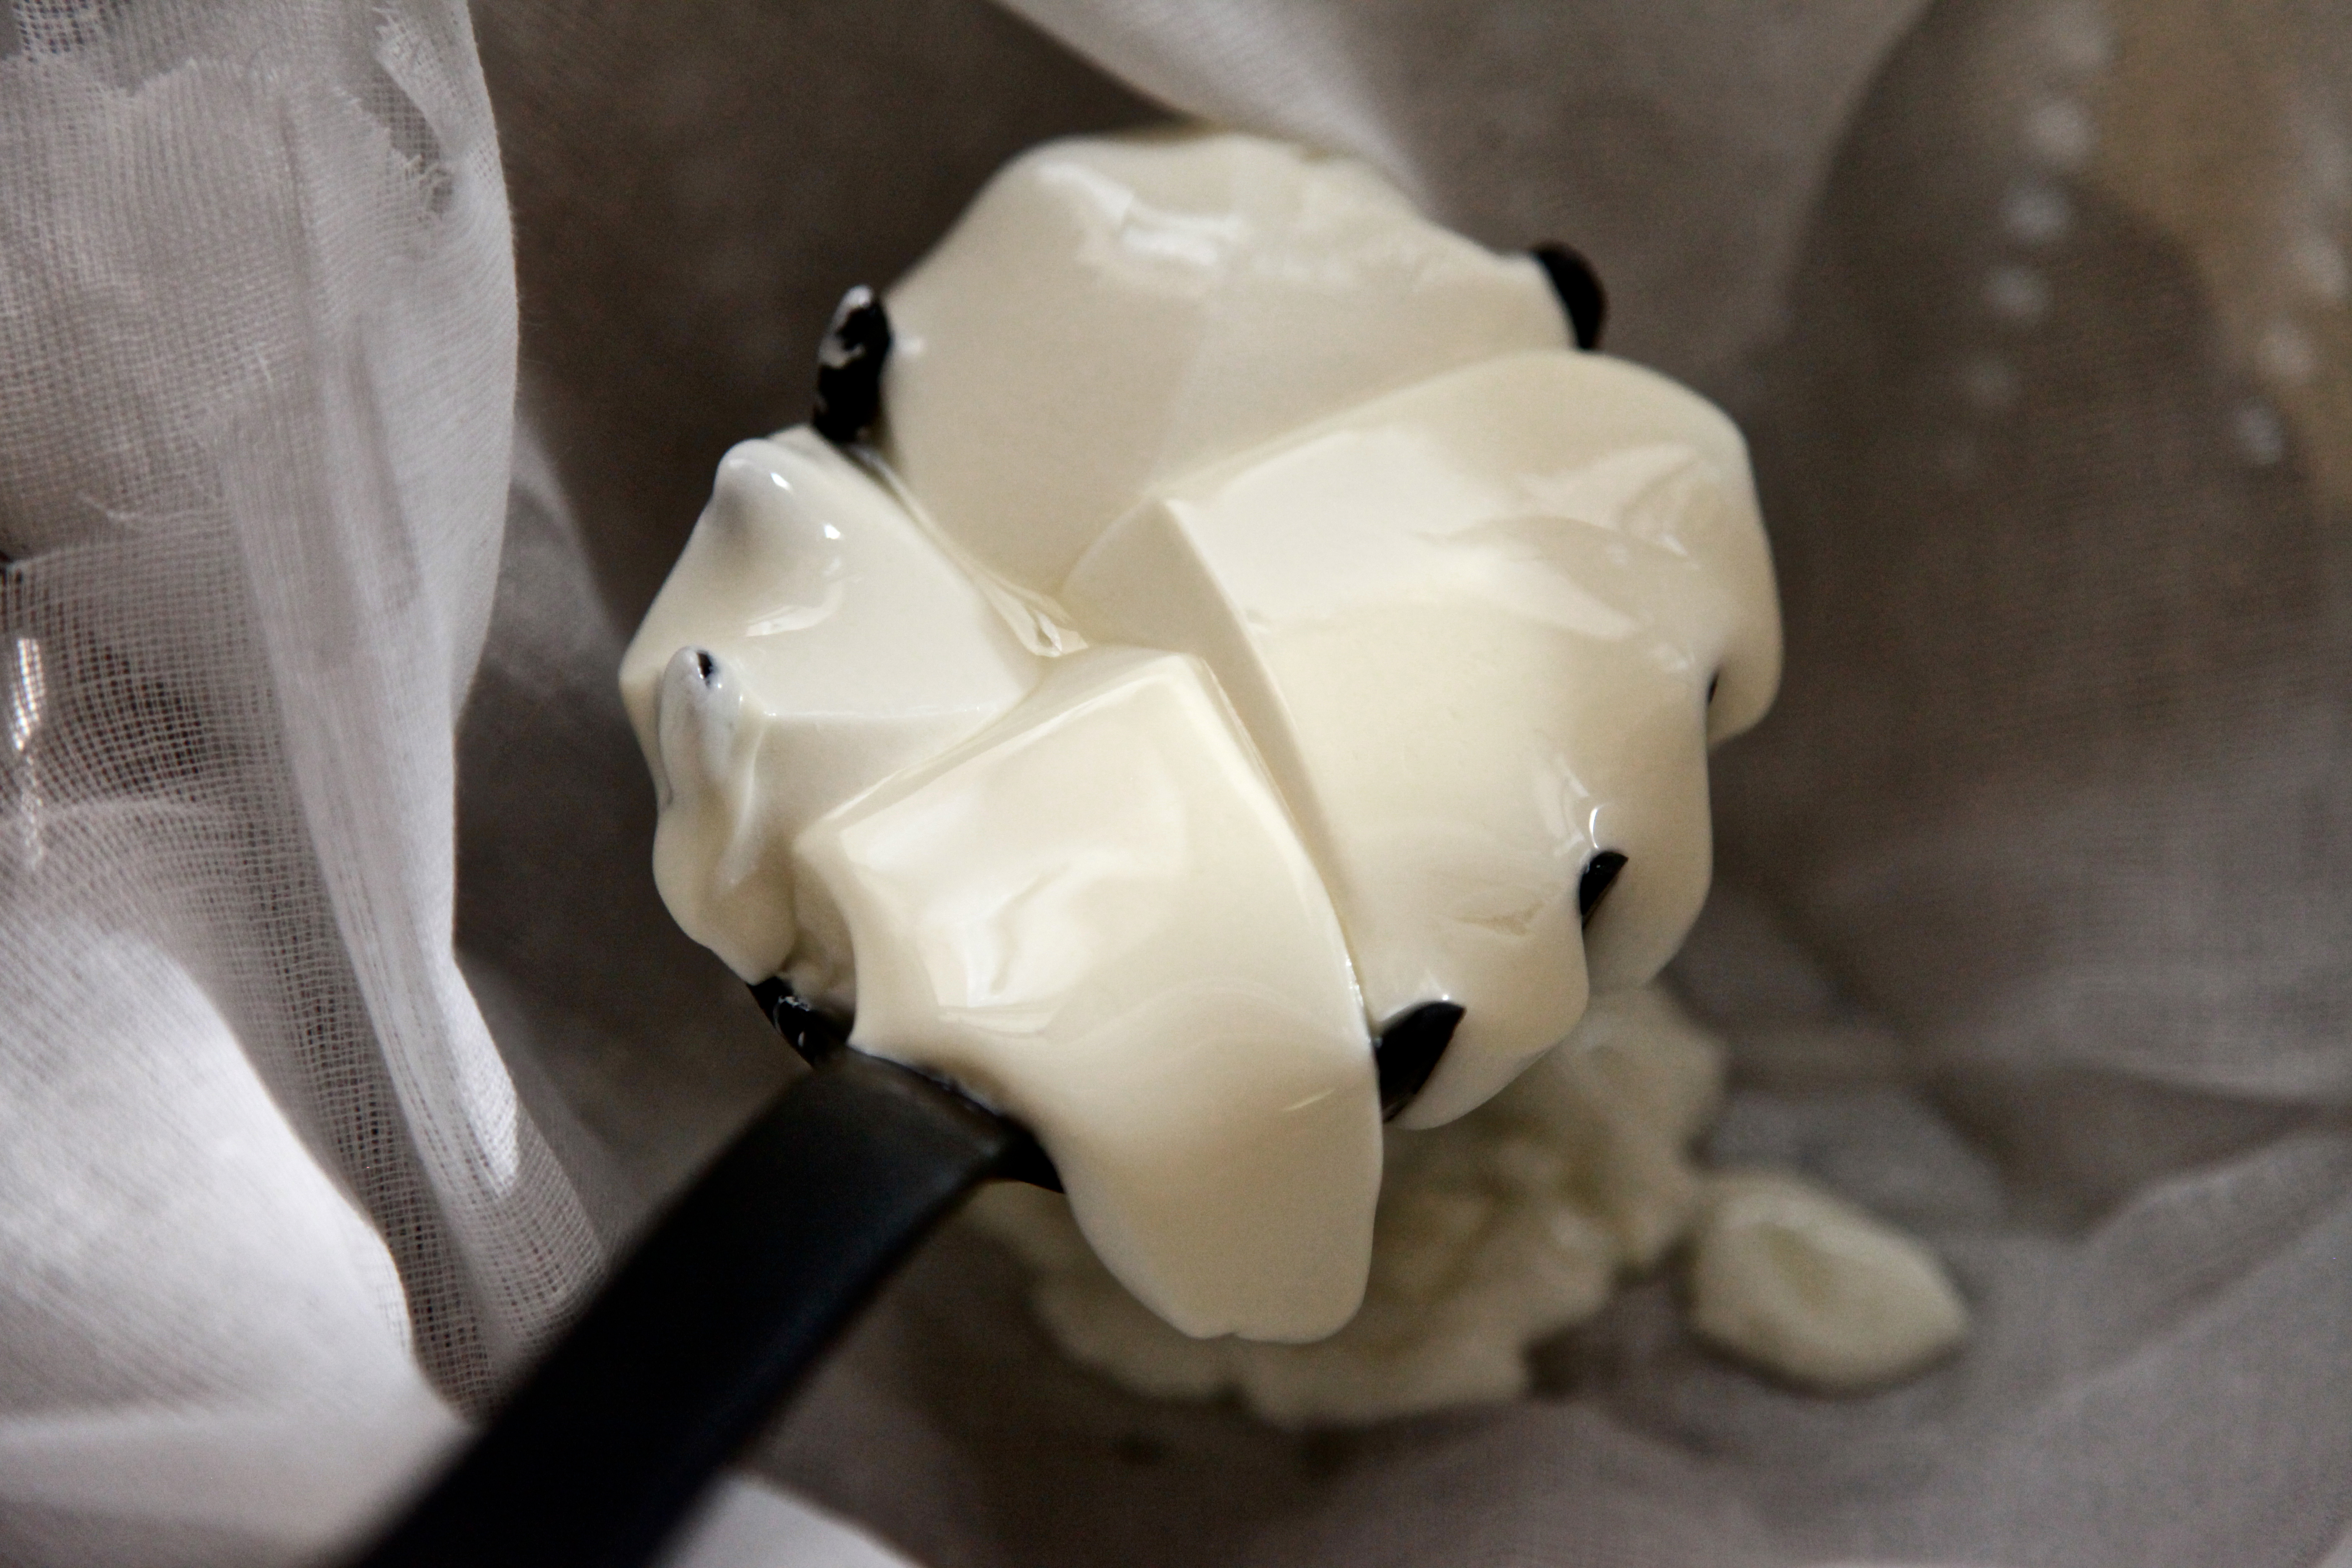
Carefully, very, very carefully, pick up the cheese blocks with a slotted spoon and place it in the drainer.
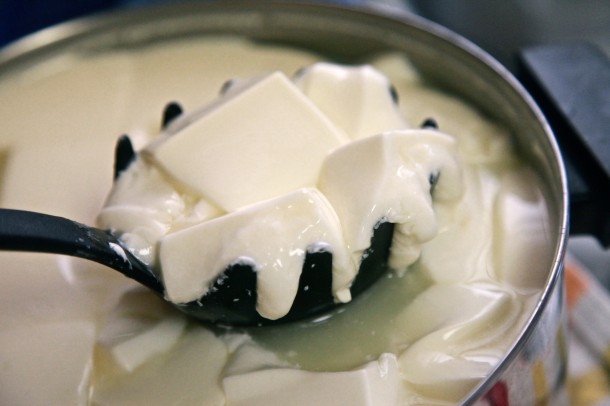
Come on, that’s sexy.
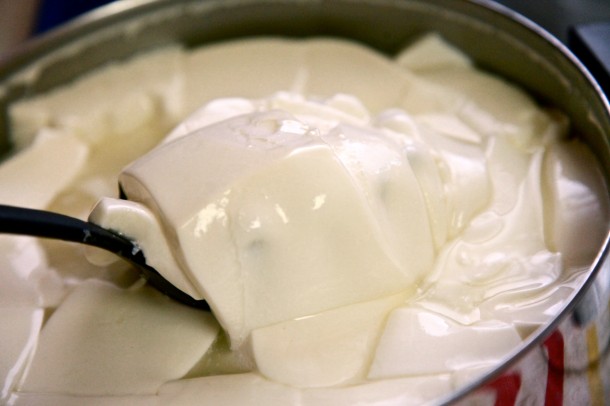
Oh yeah.

After you’ve carefully added the curds to the drainer, just let it sit for a minute.
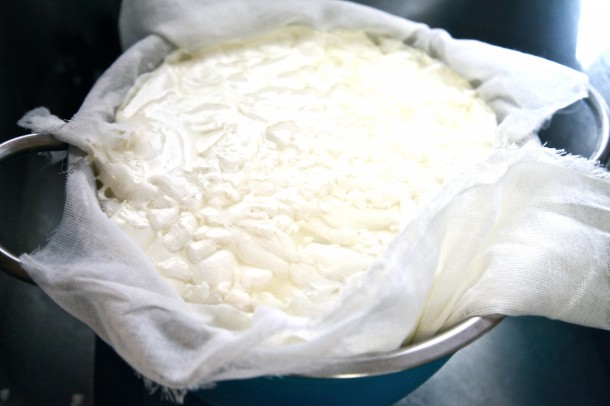
You didn’t forget your bowl, did you?
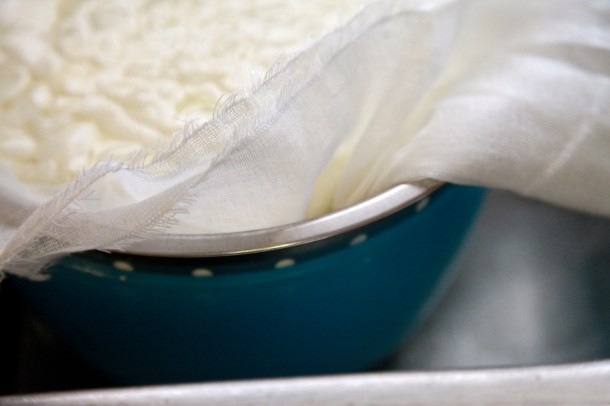
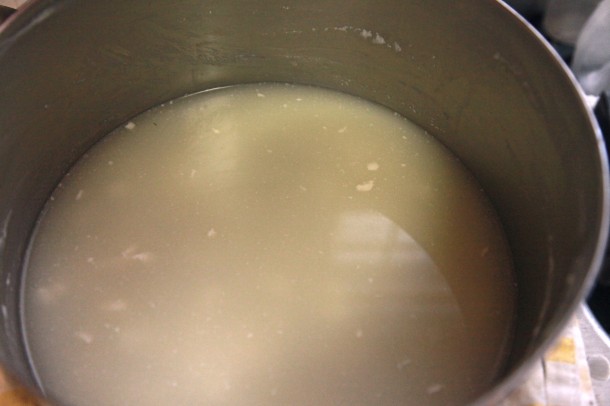
See all the whitey bits in the whey? Those have to come out too or it’ll ruin the whey when you heat it back up, so pour that through the strainer as well.
Now, carefully, carefully, carefully, push on the cheese so the liquid drains out. Don’t push too hard!
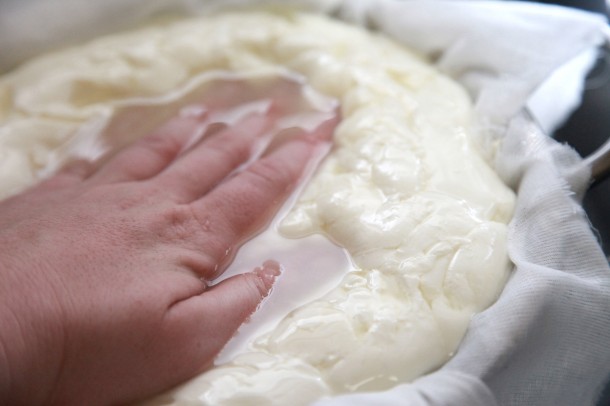
You may have to empty they whey from the bowl a few times while it’s draining.
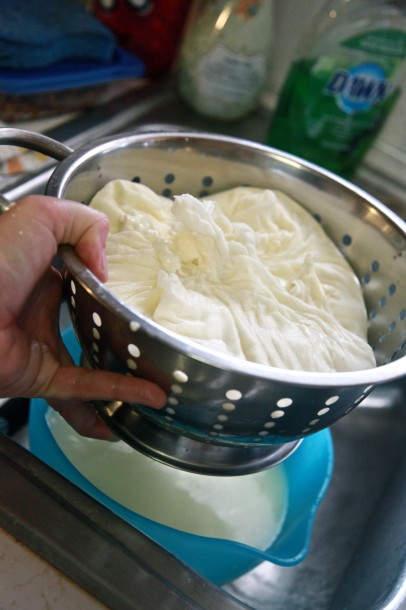
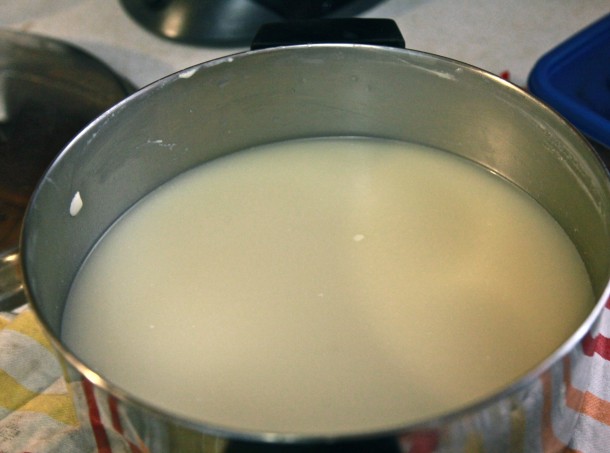
Just dump the liquid back into the pot.
I took the edges of the butter muslin and gently squeezed to get the remaining liquid out.
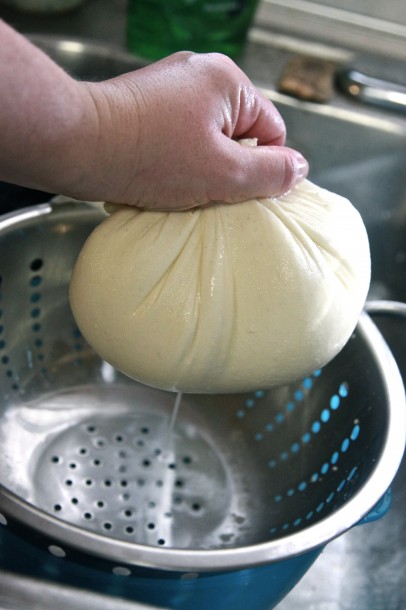
You should be left with a blob like this and it shouldn’t fall apart when you pick it up. If it falls apart, you may just need to drain more liquid.
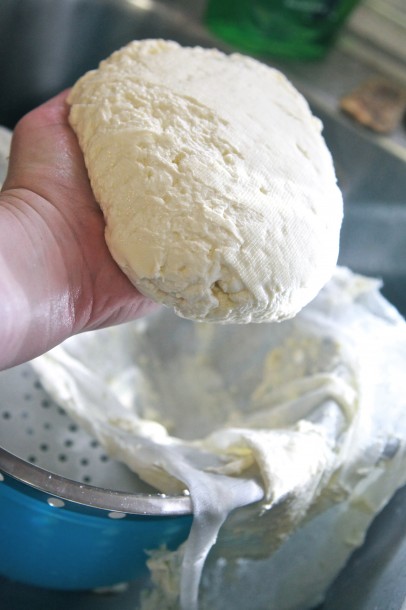
Place it on a cutting board with the drainage wells on the side to catch the liquid that will continue to run off.
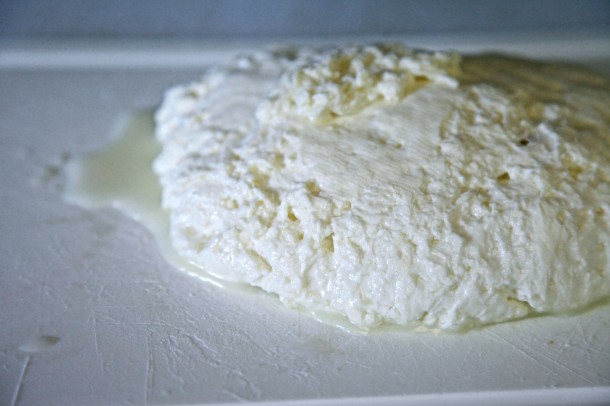
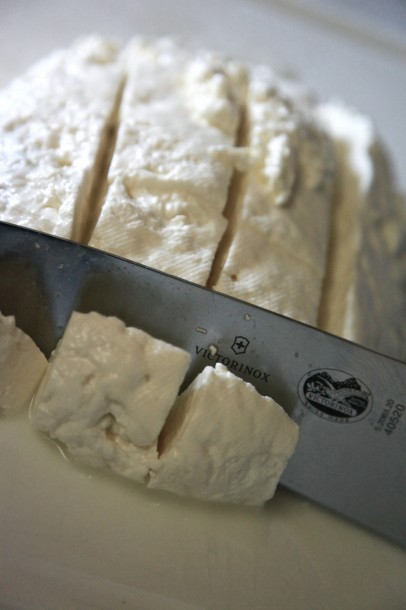
Cut the blob into 1″ blocks.
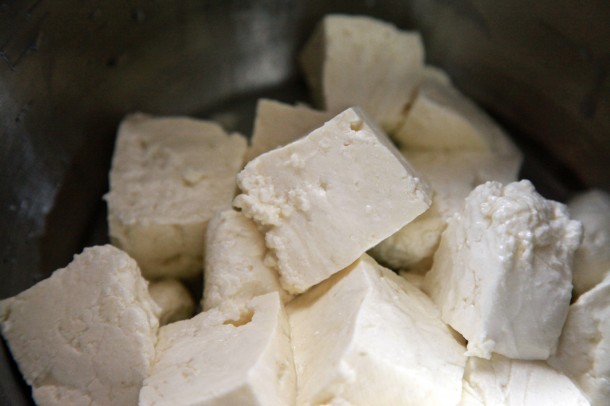
Place them in a heat-safe bowl.
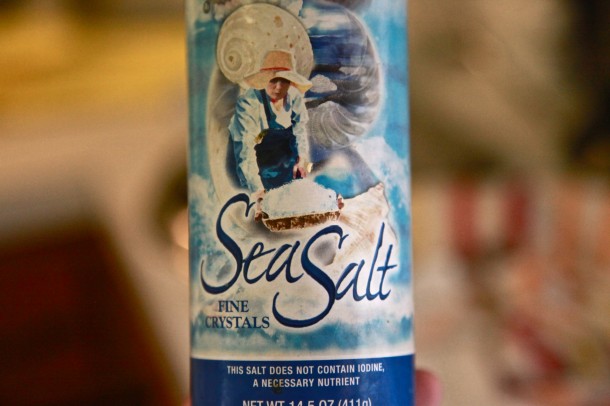
This is important! Don’t forget the salt! I under-salted mine. Pour about 3-4 tablespoons of salt into the liquid.
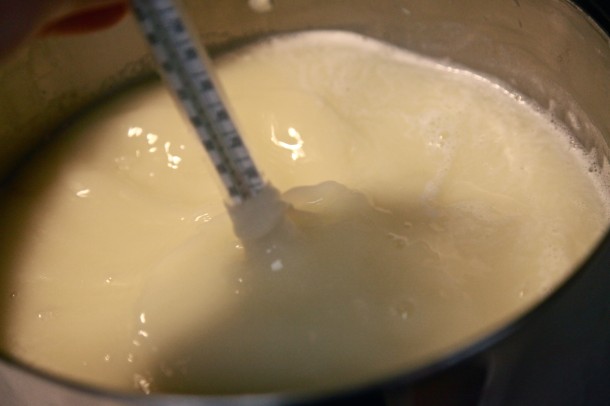
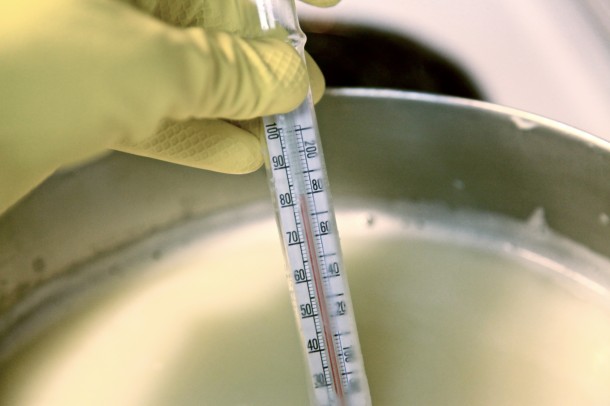
Now we’re going to bring the temperature of the whey up to 180*. Because I was paranoid about over-heating the liquid, I just stirred with my floating thermometer and watched it carefully.
While that’s heating, get another bowl full of cool water.
And go ahead and put your gloves on. When it reaches 180*, take it off the heat immediately.
Now, carefully pour the hot liquid in the bowl of curds.
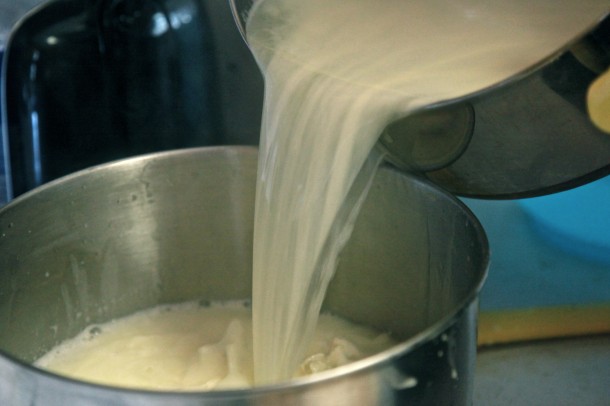
Make sure you have enough to cover the curds, and keep that hot whey handy if you need it in a minute.
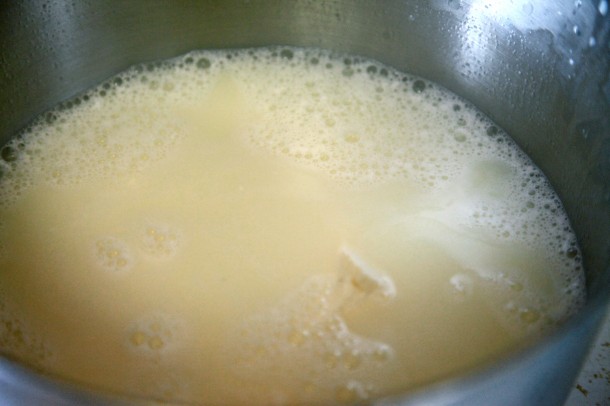
Using a few rubber spatulas, spoons, or your glove-covered hands if you’re hardcore like I am, and start kneading the cheese.
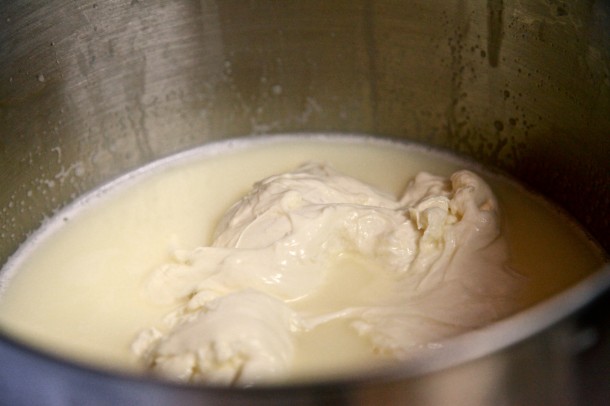
This liquid is seriously hot and you will probably regret diving in with your tender hands like I do every time I make it. But I still prefer hands-on over some dumb spatula.
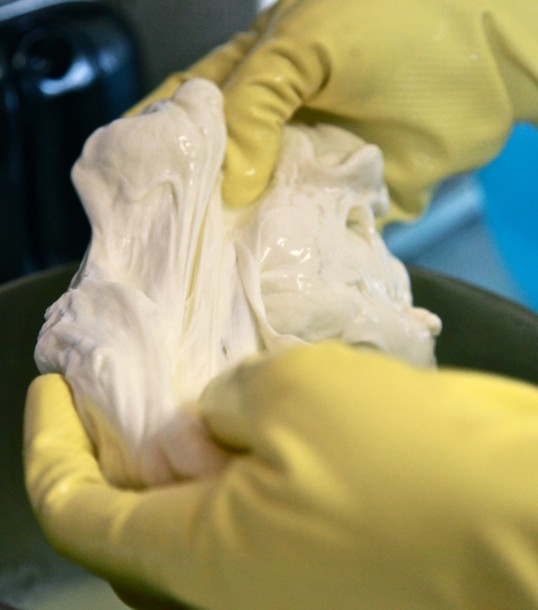
By this time, my roommate and I were oooo’ing and ahhh’ing.
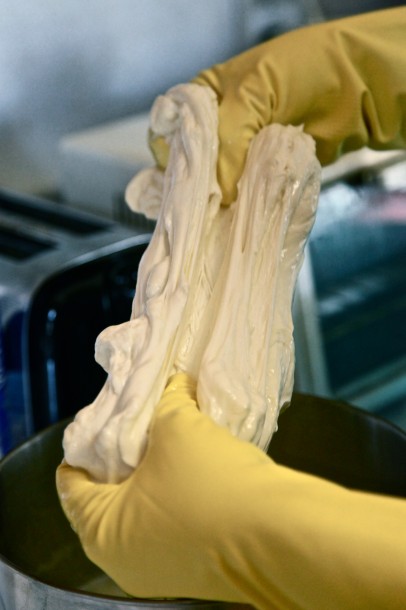
Aaaand by this time we were yelling and laughing. Making food from scratch is about the experience too!
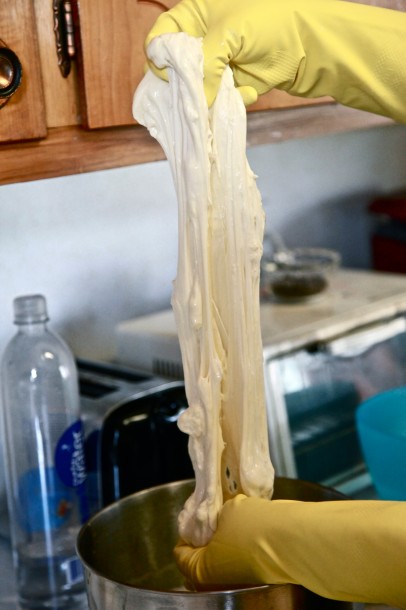
Before making this, I had never known exactly how to do this part of the process. But somehow, it came pretty naturally. Insert dirty joke here.
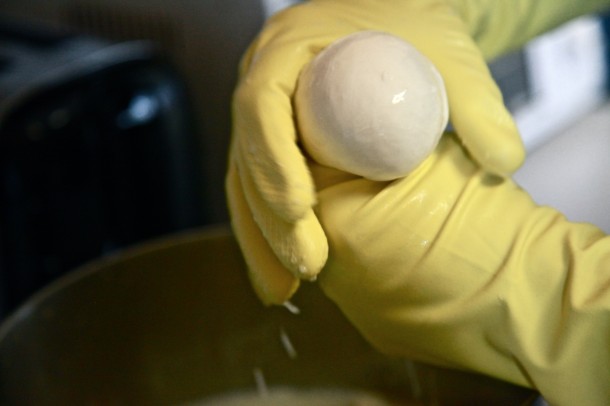
Just keep working with it till it looks like this. If you’re not sure it’s working, or if it’s not soft enough to work with, just put it back into the water while you pull yourself together. Don’t panic.
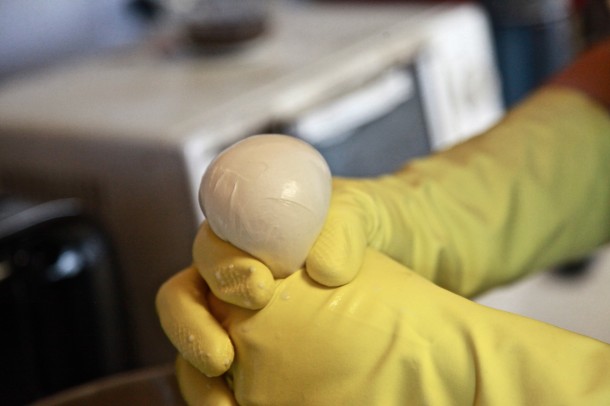
Now, just pinch off the bottom part and voila, you’ve got yourself a mozzarella ball!
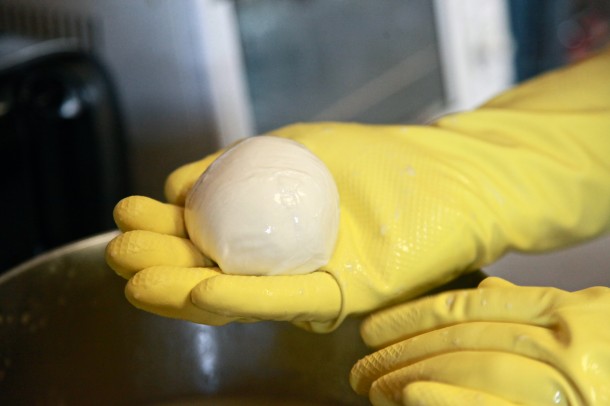
Before it turns into a glove-imprinted blob, drop it in cool water to let it set.
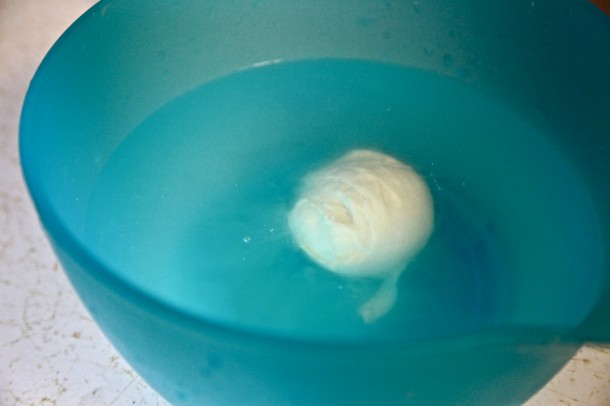
Feel free to try it immediately (recommended).
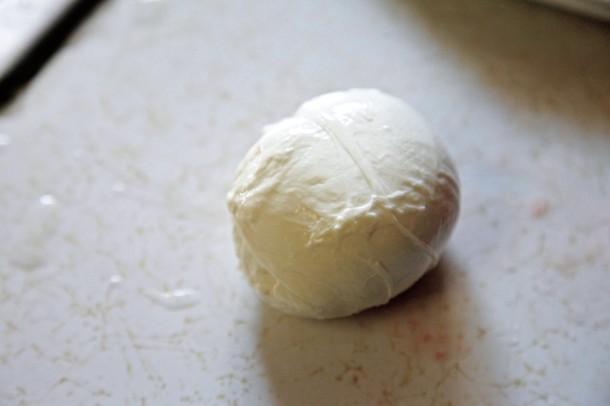
Or, wrap them up in plastic wrap. Not an old plastic grocery bag like I did. The only time you run out of plastic wrap is when you need it the most, eh?
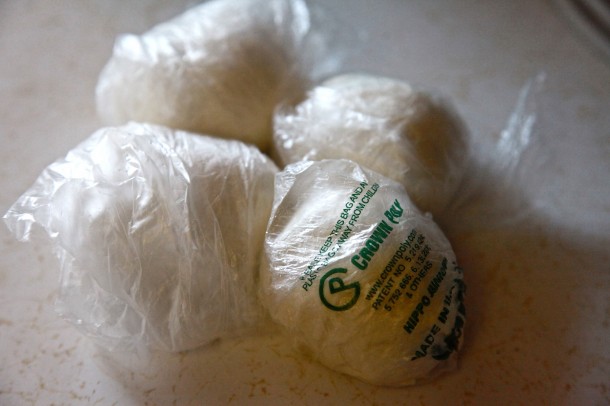
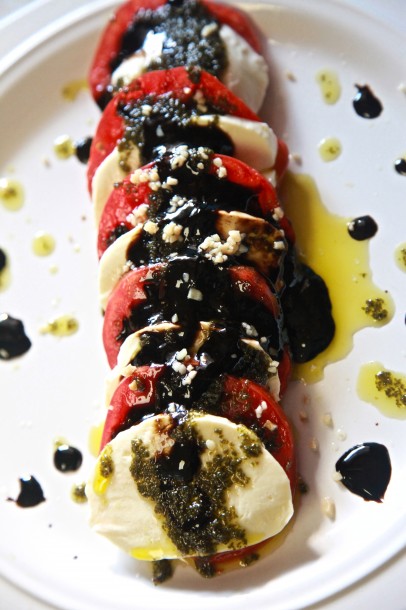
Here’s what I made for lunch immediately after wrapping them up. Recipe to follow.
- 1 Gallon Whole, Unpasteurized and/or Raw Milk – $5.25
- 1/2 Cup Heavy Cream or Half & Half – $.59
- 1 1/2 Teaspoons Citric Acid (buy here) – $.12
- 1/8 Teaspoon Vegetable Rennet (buy here) – $.35
- Total recipe cost: $6.31
For 1 Mozzarella ball? $1.26, baby!
Most fresh mozzarella balls are about $5.99 each, and this recipe makes about 5 mozzarella balls! $30 worth of cheese for $6! Come on now, that’s pretty sweet.



I make mozzarella regularly with plain old normal (not ultra, of course) pasteurized 2% grocery store milk and I’ve never had a complete failure. I heat up much faster usually with the burner on medium high. Also, I just use a strainer – forget the cheesecloth. It might be all the extra fat you’re adding that’s making it more fragile, and if it comes out kind of tough you might be over working it.
Thank you for the tips, John! I’ll definitely try 2 percent one day.
What do you do with the heavy cream or half and half? This sounds so great and with great pics…thanks.
Tatjana, I apologize for my lack of detail on that step. I’ve updated the recipe! You put the cream in with the milk on the very first step.
Thank you for such a detailed breakdown of the process. I just tried it myself and it came together great but once I tasted it the texture was a bit rubbery compared to the mozzarella I’m used to. The only difference from your recipie that I did was 1) I used 1/4 tablet vegetable rennet from http://www.culturesforhealth.com dissolved in 1/4 cup of water, 2) I used raw milk from an organic farm near us. I don’t know if either of those differences would cause the rubbery texture. Do you have any ideas on what could have caused that?
Thank you,
Anna
Anna, I made this cheese again last week and it flopped. It all sunk to the bottom and my cheese balls were rock hard. I was so frustrated… until I realized what I did wrong! I used PASTEURIZED cream! Did you use regular store-bought cream and/or milk? Or did both of them specifically say “UNpasteurized” or “raw?”
I used milk from an organic farm right up the road. It’s completely raw.
Hi Ande! So I suddenly want to make some cheese, like today or tomorrow morning. I don’t have citric acid, but I do have sodium citrate (for that modernist mac & cheese). Do you think I could substitute it?
I read online, “They are nearly identical substances; citrate is simply the form in which citric acid exists in the body and at neutral acidity.” But if I could sub one for the other, I don’t know if the amounts would be different. It’s hard to find this information!
Hey Sarah! I have never used sodium citrate so I’m not exactly sure. But in my naive opinion I would say that you WANT the acidity that citric acid offers, rather than the neutral acidity that sodium citrate offers. You need that acid in there to coagulate it, I think. I would call around to some local stores if you want to do this soon–maybe Whole Foods? Or if there’s a brewery or local cheese shop they might have it?
I think you must be right. I have never seen any cheese recipe using sodium citrate. I don’t suppose it would be too hard to find, so those local store ideas are good! Thanks for the reply!
About how long does this process/ recipe take to make- start to finish. WOuld it be do-able with kids, or should I banish them from the kitchen?
Hey Nicole! The first time I did this, I was very very careful to do everything perfectly and read the instructions well (not my forte), so it probably took about an hour and a half. The next time I did it, it took about 45 minutes. Once you get the hang of it, it’s super easy.
As far as kids go, how old are your kids? The semi-dangerous part about the cheese is having to dip your hands in pretty much boiling water (you have gloves on, but still). It’d be a great activity with a kid who’s maybe 8 or older and could help you read the directions, decide if the cheese is solid enough, and maybe if they have gloves they could kneed the cheese.
Hope that helps!
Intresting article Ande. Bumped on it through a Facebookpage we seem to both like..Would love to try it! But here in Belgium you can buy a Mozzarella ball for like 0,79€ for 125g ( that’s about .99cents for 4,4 oz), so yeah apart from the satisfaction you get from doing it yourself, here in Belgium, it would not actually give more advantage fincially spoken. And wow raw milk is illegal in the USA (or some parts of the USA..)??
Yes, sadly, raw milk is illegal. There are ways around it. Here in Florida, we are allowed to sell raw milk that is properly labeled: “For Pet Use, Not For Human Consumption” I am not the food police to follow people home and see what kind of “pets” they feed the milk to. I know I drink my own milk daily and I am still alive and well.
I make my mozz with raw goat milk. I don’t add any cream to it. When I flub the recipe, I just call it Mozzarella Cream Cheese and it sells quickly!
Hi! 🙂 Seen many recipes and videos for making Mozzarella, but yours is the one I will use, esp. since you admitted to making a mistake the first two times trying and that you use the whey and not just hot water for that one particular step. Finally, my question is… how much cheese does this recipe actually yeild in weight?
Hey Mike. So, I’ve made this 4 times now and I’ve flopped it 3 times! I realized I had been using pasteurized cream instead of raw cream. When it flopped, I got very little out of my batch and it was hard and tasteless. When I did it right, I got maybe 24-32 oz. out of it? Sorry, I didn’t have a scale when I made these. The next time I make it in the near future I’ll be sure to measure it.
Ande and Kellie, you are such amazing young women. I’m sitting here on this rainy Saturday morning just shaking my head at your creative energy and wishing you would make me some mozzarella cheese balls RIGHT NOW. Or at least make me a yummy lunch using some of the cheesey you’ve whipped up while I sat and drank my 3rd cuppa of the day. You make cheese. I take nap…
🙂 I think that is an excellent plan, my friend. I’ll come to your kitchen any day! I’ve got the supplies if you’ve got the milk!
Ande, you are just awesome. Only you could make me want to try that. And even if I didn’t want to, I’d still read your recipe anyway because I love the way you write!
Thanks, Melinda! If you ever want to make it and want a hand, give me a call 🙂
Awesome.
Isn’t ricotta made with the leftovers? What do you do with all that whey?
Also, when you say whole, unpasteurized, or raw milk, do you mean you can use plain old pasteurized, homogenized whole milk from the grocery store?
Good question. From what I’ve read, you can use unpasteurized whole milk, or raw milk–there seems to be a slight difference in the two. You can also get the “flash pasteurized” whole milk at Whole Foods (or Weaver Street Market probably). It’s just pasteurized enough to be legal to sell in stores.
Like I told Kellie, I want to do a little research to find out any modifications one can make to the recipe if one wants to use regular ultra-pasteurized milk from the store. Not sure it’s possible though.
Oh, and I’m not sure about the extra whey. There are no solids in it after you strain it, so I’m not sure if it’s usable. I have so much to learn about cheesemaking!
it is usable! i just read about it the other day. i’ll find the article.
ok, so here’s the article. it’s actually a how to make ricotta cheese post and she says this, “I just know that someone is going to ask what to do with the leftover whey, because you’re all such fantastically aware, non-food-wasters. Whey makes an excellent smoothie base, as it contains high-quality protein. You can also add it to soups, stews, or use it bread baking instead of water. And although I have not tried it yet, use whey to boil rice or other grains in place of water or broth.”
here’s the link:http://mynewroots.blogspot.com/2012/02/homemade-goats-milk-ricotta-on-toast.html
Ohhhhh great ideas!
i love this!! i can’t wait to try. although in ohio, you can’t buy unpasteurized/raw milk in stores. it’s illegal to sell, but i have a friend whose family has a farm and i can get milk from them. time to make a phone call. 🙂
Kellie, I’ll have to do a little research to see if there’s any way you can get what you need up there in the stores if the farm doesn’t work. The gallon you see in the photos was bought at a small, Southern, underground “peach stand” 🙂 But the first time I did the cheese, I found it at a store like Whole Foods. Their milk in the glass jars are just flash pasteurized–enough to make it safe–and it worked just fine.